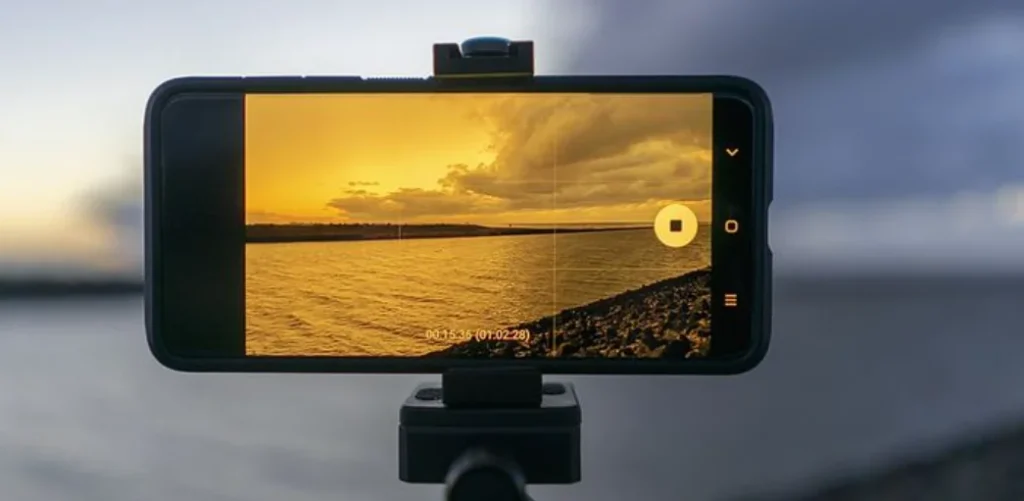
You don’t need the latest iPhone or a professional DSLR to take stunning photos. The secret to capturing clean, sharp, and vibrant photos lies in using the camera settings your phone already has. Whether you’re using Android or iPhone, these 11 phone camera tips will instantly improve your photography game.
1. Turn On Gridlines for Better Composition
Want to take more balanced and visually appealing photos? Turn on the gridlines feature in your camera settings. This enables the rule of thirds—a fundamental photography technique where you place your subject along intersecting lines rather than at the centre.
How to activate:
- On iPhone: Go to Settings > Camera > Grid.
- On Android: Open your Camera > Settings > Enable Grid or Gridlines.
2. Tap to Focus for Sharper Images
Your phone doesn’t always know where to focus. If your subject looks blurry, simply tap on the screen to set the focus point. This also helps your camera adjust the exposure based on that area.
Works great for:
- Portraits
- Food photography
- Close-ups of objects
3. Don’t Zoom In—Move Closer
Using digital zoom decreases image quality by cropping and enlarging the photo. Instead of pinching to zoom, physically move closer to your subject to retain sharpness and detail.
Tip: Unless your phone has optical zoom (found on high-end models), avoid zooming entirely.
4. Adjust Exposure Manually
Struggling with photos that are too dark or too bright? After tapping to focus, slide your finger up or down on the screen to adjust the exposure.
Ideal for:
- Backlit portraits
- Low-light food shots
- Outdoor photography with uneven lighting
5. Clean Your Camera Lens Regularly
A dirty lens causes blurry or foggy photos. Use a microfibre cloth or lens wipe to clean it, especially before shooting important pictures.
Pro Tip: Wipe gently in circular motions to avoid scratches.
6. Use Night Mode Instead of Flash
Flash can produce harsh light, shiny skin, or strange shadows. If your phone has a night mode, enable it instead—it captures multiple frames to brighten your photo naturally.
When to use flash: Only when shooting in bright daytime shadows.
7. Keep Your Hands Steady
Most blurry photos happen because of hand movement, especially in low light. To avoid this:
- Hold your breath while taking the photo
- Lean on a stable surface
- Use a mini tripod for ultimate stability
8. Understand Your Aspect Ratios
Knowing your aspect ratio helps you frame photos better for the platform you’re shooting for.
Common ratios:
- 16:9—Great for landscape photos and YouTube/TikTok videos
- 4:3—Best for social media photos
How to adjust: Open your camera app and look for the aspect ratio icon, often labelled as 4:3, 16:9, or 1:1.
9. Take Advantage of Portrait Mode
If your phone supports portrait mode, use it to get that smooth background blur (bokeh effect) that makes your subject pop.
Portrait mode works best for:
- People
- Pets
- Objects with a clear background
10. Avoid Wide Shots on Low-Megapixel Phones
If your phone has a low-megapixel camera, wide shots often lack detail. Instead, focus on close-up or mid-range shots to maintain texture, colour, and clarity.
Ideal subjects:
- Faces
- Products
- Food
11. Use Natural Light Whenever Possible
Good lighting is everything. Use natural light from windows or shoot outdoors during golden hour (shortly after sunrise or before sunset) for the best results.
Bonus Tip: If you’re indoors, consider using a portable ring light for better selfies and video content.
Small Tweaks, Big Difference
You don’t need a “good camera phone” to take better pictures—just smart camera setting adjustments and good technique. These small changes can instantly improve your results, whether you’re creating content for Instagram, documenting memories, or starting a photography hobby


